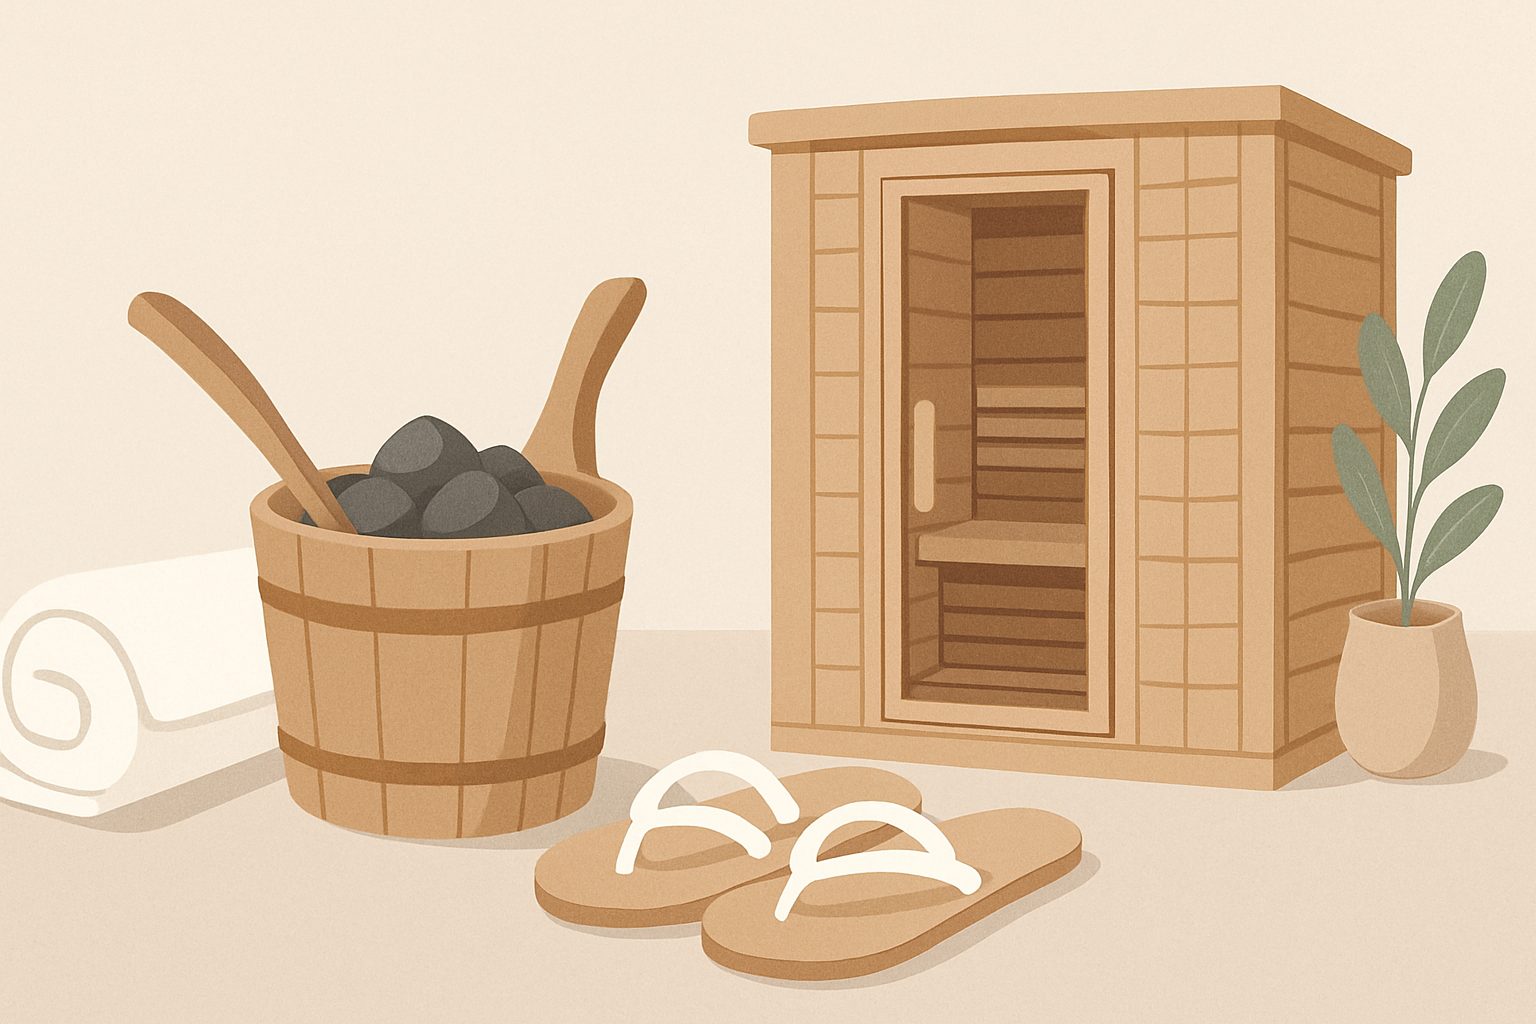
How to Set Up a Home Sauna UK — Step-by-Step Installation Guide
Installing a home sauna is more achievable than many people think—most modern kits are designed for straightforward DIY assembly. You won't need specialist skills or expensive equipment, though proper planning matters. This guide walks you through the realistic steps: choosing your space, preparing it correctly, handling the electrical side, and getting your sauna ready to use.
Assess Your Space and Requirements
The first step isn't buying anything—it's understanding what you're working with.
Most home saunas fit into a spare bedroom, shower cubicle, corner of a garage, or dedicated utility space. You'll need at least 1.5m × 1.5m of floor area for a two-person sauna, or 2m × 2m for a more comfortable four-person setup. Height is usually 1.9m–2.1m, so sloped ceilings or lofts can work if you plan carefully.
Check for existing damp problems. Saunas produce moisture, and a room with rising damp or poor ventilation will struggle. If walls are already damp, fix that first—a sauna will amplify the issue. Solid concrete floors are fine; they should be level within 20mm or so across the footprint.
Electrical access is critical. You'll need a dedicated 32A or 40A circuit from your consumer unit, depending on the heater (typically 6–9kW). If that's more than 10 metres away, consult an electrician about the cable run; undersized wiring is a real fire risk.
Gather Tools and Materials
You won't need much, but having it ready saves frustration.
Essential tools:
- Power drill with bits
- Adjustable spanner and fixed spanners (13mm, 17mm common)
- Spirit level
- Tape measure
- Screwdriver set (Phillips and flat-head)
- Silicone sealant and caulking gun
- Saw (jigsaw or handsaw for timber cutting)
- Bucket or large container (for water supply)
Materials:
- Heavy-duty plastic sheeting or sauna-grade lining
- Silicone sealant (sauna-safe, not acrylic)
- Ventilation ducting (typically 100–150mm diameter)
- Timber shims for levelling
- Thermal insulation batts (150mm mineral wool) if the room isn't already insulated
- Electrical cable (check gauge with your electrician)
Most sauna kits include the cabin, heater, stones, thermometer, and control panel. Check the checklist before starting.
Prepare the Room
Preparation determines how well your sauna actually works.
Clear the space completely and check the floor level. Use shims under the sauna's base to ensure it sits flat—especially important for wood-lined cabins, which can warp if uneven. A small deviation matters over time.
Lay heavy-duty plastic sheeting or moisture barrier across the floor and up the walls to 1.5m height. Sauna cabins themselves are lined, but this secondary barrier protects the room's structure from the humidity. Overlap seams by at least 150mm and tape them. This isn't essential with all cabins, but it's worth doing in kitchens, bathrooms, or ground-floor rooms.
Ensure the space around the sauna can handle moisture. Leave at least 300mm clearance on all sides for air circulation and future maintenance. Windows or air vents help, but we'll address ventilation properly next.
Set Up Electrical Supply
Electrical work must be done right. If you're not confident, hire a Part P–qualified electrician. It's not expensive for this job and removes doubt.
The heater needs a dedicated circuit (never shared with other appliances). Run a separate cable from the consumer unit to the sauna location, protected in trunking or buried conduit if running through walls. The cable gauge depends on the heater's kilowattage and distance—a 9kW heater at 8 metres might need 6mm² cable, but your electrician will confirm.
Connect the heater to a 32A or 40A double-pole isolator switch mounted outside the cabin at head height. The heater itself then connects to the control unit, which sits inside. Most kits have well-labelled wiring, but don't skip the manual. Colour-coded terminals (brown = live, blue = neutral, green/yellow = earth) are standard; getting this wrong stops the heater working and is genuinely unsafe.
Have the installation inspected if you're unsure at any point.
Assemble the Cabin
Modern kits are modular and largely bolt-together.
Start by positioning the base frame and checking it's level in both directions. Assemble the walls panel by panel, securing them with the supplied brackets. Wood-lined cabins often slot together without tools—just guide each piece carefully. Metal corner brackets and fasteners come next; don't overtighten, as you can crack timber.
Install the thermometer in a visible spot near the top corner (heat rises, so it's more accurate higher up). Fit the heater on its designated bracket—usually the back wall or bench area. Double-check that the heater is secure and level; any vibration over time becomes annoying.
The door typically goes in last. Make sure hinges are straight and the door seals properly when closed. A magnetic catch works well.
Install Ventilation
Ventilation is what separates a functional sauna from a damp nightmare.
You need both intake and exhaust. Install an intake vent near floor level (typically 100mm) to draw fresh air in as the sauna heats. Install an exhaust vent near the top, 150mm diameter ducting running to outside or into a large room with its own external vent. The humidity needs somewhere to go; a closed sauna becomes suffocating and damages the building.
Ducting can run through the ceiling space or outside the cabin if that's simpler. Lagging reduces noise. Make sure the exhaust termination outside has a flap valve to stop cold air and rain coming back in.
Season the Wood (First Use)
New wood saunas need careful initial runs.
Run the sauna at low temperature (around 40°C) for the first hour with the door open, checking for smells or damage. Increase to 50°C for the next session, then 60°C. By the fourth or fifth use, run it at full temperature. This gradual approach lets the wood dry and settle without cracking or excessive resin venting.
The first few uses will smell strongly of fresh wood and resin—that's normal and passes within a week or two. Ensure good ventilation during seasoning.
Final Checks
Before regular use, confirm:
- Heater reaches target temperature evenly
- Thermometer reads accurately (use a separate thermometer to cross-check)
- Ventilation removes moisture—the room shouldn't feel damp an hour after shutdown
- Door seals and closes properly
- All electrics are secure and the isolation switch works
A properly installed sauna runs reliably for years. Take time with these steps and you'll have a functional, safe installation you can use for a decade.
More options
- Infrared Sauna Cabin (1–2 Person) (Amazon UK)
- Far Infrared Sauna Blanket (Amazon UK)
- Electric Sauna Heater (Harvia / Huum) (Amazon UK)
- Home Sauna Kit / Cabin Flat-Pack (Amazon UK)
- Sauna Accessories Bundle (Ladle, Bucket, Thermometer) (Amazon UK)